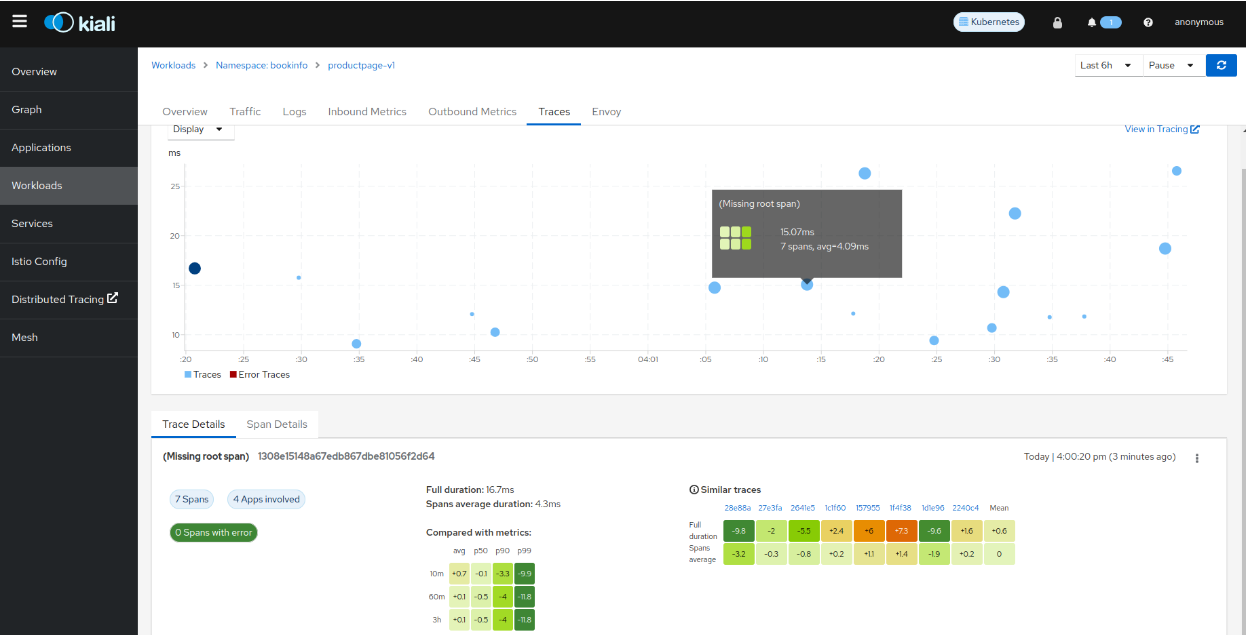
Kiali and Tempo setup
Steps to install Kiali and Grafana Tempo
We will start minikube:
minikube start
It is a requirement to have cert-manager installed:
kubectl apply -f https://github.com/cert-manager/cert-manager/releases/download/v1.12.0/cert-manager.yaml
Install the operator. It is important to download a version 3.0 or higher. In previous versions, the zipkin collector was not exposed, there was no way to change it as it was not defined in the CRD.
kubectl apply -f https://github.com/grafana/tempo-operator/releases/download/v0.3.0/tempo-operator.yaml
We will create the tempo namespace:
kubectl create namespace tempo
We will deploy minio, this is a sample minio.yaml:
apiVersion: v1
kind: PersistentVolumeClaim
metadata:
  # This name uniquely identifies the PVC. Will be used in deployment below.
  name: minio-pv-claim
  labels:
    app: minio-storage-claim
spec:
  # Read more about access modes here: http://kubernetes.io/docs/user-guide/persistent-volumes/#access-modes
  accessModes:
    - ReadWriteOnce
  resources:
    # This is the request for storage. Should be available in the cluster.
    requests:
      storage: 5Gi
---
apiVersion: apps/v1
kind: Deployment
metadata:
  name: minio
spec:
  selector:
    matchLabels:
      app: minio
  strategy:
    type: Recreate
  template:
    metadata:
      labels:
        # Label is used as selector in the service.
        app: minio
    spec:
      # Refer to the PVC created earlier
      volumes:
        - name: storage
          persistentVolumeClaim:
            # Name of the PVC created earlier
            claimName: minio-pv-claim
      initContainers:
        - name: create-buckets
          image: busybox:1.28
          command:
            - "sh"
            - "-c"
            - "mkdir -p /storage/tempo-data"
          volumeMounts:
            - name: storage # must match the volume name, above
              mountPath: "/storage"
      containers:
        - name: minio
          # Pulls the default Minio image from Docker Hub
          image: minio/minio:latest
          args:
            - server
            - /storage
            - --console-address
            - ":9001"
          env:
            # Minio access key and secret key
            - name: MINIO_ACCESS_KEY
              value: "minio"
            - name: MINIO_SECRET_KEY
              value: "minio123"
          ports:
            - containerPort: 9000
            - containerPort: 9001
          volumeMounts:
            - name: storage # must match the volume name, above
              mountPath: "/storage"
---
apiVersion: v1
kind: Service
metadata:
  name: minio
spec:
  type: ClusterIP
  ports:
    - port: 9000
      targetPort: 9000
      protocol: TCP
      name: api
    - port: 9001
      targetPort: 9001
      protocol: TCP
      name: console
  selector:
    app: minio
And apply the yaml:
kubectl apply -n tempo -f minio.yaml
We will create a secret to access minio:
kubectl create secret generic -n tempo tempostack-dev-minio \
--from-literal=bucket="tempo-data" \
--from-literal=endpoint="http://minio:9000" \
--from-literal=access_key_id="minio" \
--from-literal=access_key_secret="minio123"
Install Grafana tempo with the operator. We will use the secret created in the previous step:
kubectl apply -n tempo -f - <<EOF
apiVersion: tempo.grafana.com/v1alpha1
kind: TempoStack
metadata:
  name: smm
spec:
  storageSize: 1Gi
  storage:
    secret:
      type: s3
      name: tempostack-dev-minio
  resources:
    total:
      limits:
        memory: 2Gi
        cpu: 2000m
  template:
    queryFrontend:
      jaegerQuery:
        enabled: true
        ingress:
          type: ingress
EOF
As an optional step, we can check if all the deployments have started correctly, and the services distributor has the port 9411 and the query frontend 16686:
kubectl get all -n tempo

(Optional) We can test if minio is working with a batch job to send some traces, in this case, to the open telemetry collector:
kubectl apply -f - <<EOF
apiVersion: batch/v1
kind: Job
metadata:
  name: tracegen
spec:
  template:
    spec:
      containers:
        - name: tracegen
          image: ghcr.io/open-telemetry/opentelemetry-collector-contrib/tracegen:latest
          command:
            - "./tracegen"
          args:
            - -otlp-endpoint=tempo-smm-distributor.tempo.svc.cluster.local:4317
            - -otlp-insecure
            - -duration=30s
            - -workers=1
      restartPolicy: Never
  backoffLimit: 4
EOF
And access the minio console:
kubectl port-forward --namespace istio-system service/minio 9001:9001

Install Istio with helm (Option I)
Istio can be installed with Helm following the instructions. The zipkin address needs to be set:
--set values.meshConfig.defaultConfig.tracing.zipkin.address="tempo-smm-distributor.tempo:9411"
And then, install Jaeger as Istio addon.
Install Istio using Kiali source code (Option II)
For development purposes, if we have Kiali source code, we can use the kiali hack scripts:
hack/istio/install-istio-via-istioctl.sh -c kubectl -a "prometheus grafana" -s values.meshConfig.defaultConfig.tracing.zipkin.address="tempo-smm-distributor.tempo:9411"
Install Kiali and bookinfo demo with some traffic generation
Install kiali:
helm install \
    --namespace istio-system \
    --set external_services.tracing.internal_url=http://tempo-smm-query-frontend.tempo:16685 \
    --set external_services.tracing.external_url=http://localhost:16686 \
    --set auth.strategy=anonymous \
    kiali-server \
    kiali/kiali-server
Install bookinfo with traffic generator
curl -L -o install-bookinfo.sh https://raw.githubusercontent.com/kiali/kiali/master/hack/istio/install-bookinfo-demo.sh
chmod +x install-bookinfo.sh
./install-bookinfo.sh -c kubectl -tg -id ${ISTIO_DIR}
And access Kiali:
kubectl port-forward svc/kiali 20001:20001 -n istio-system
